Android Studio is an Integrated Development Environment (IDE) based on IntelliJ and Google has officially recommended to use this IDE for developing android mobile applications.
Before you download Android Studio, I recommend to download and install the latest version of Java SE Development Kit (JDK) that you can download from the link below:
https://www.oracle.com/technetwork/java/javase/downloads/index.html
After you have installed JDK, follow the steps below to download and install Android Studio on Windows. This step is applicable for installing Android Studio in all the Windows versions.
Step 1: Visit the link below to get the download options for Android Studio.
https://developer.android.com/studio/#downloads
Step 2: Click the .exe file next to Windows (64 bit) or Windows (32 bit) as installed in your computer. Let the file download complete.
Step 3: Run the downloaded exe file to install Android Studio on your Windows machine and Check the checkbox to install Android Virtual Device.
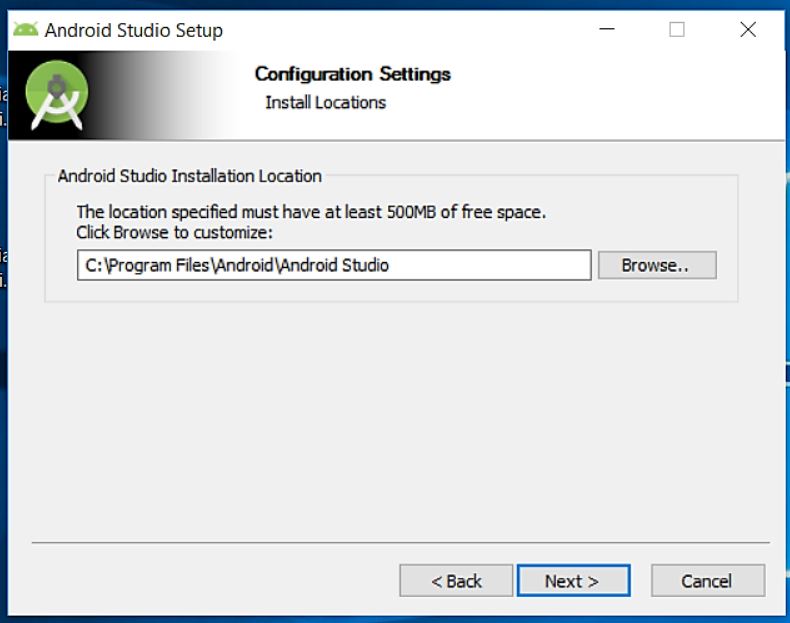
Step 4: Click Next to get to the below screen and Set the location in the hard disk where you want to install the Android Studio program files
Step 5: Click Next to start the installation process and Finish to start Android Studio.
Step 6: Select Do not import settings and click OK.
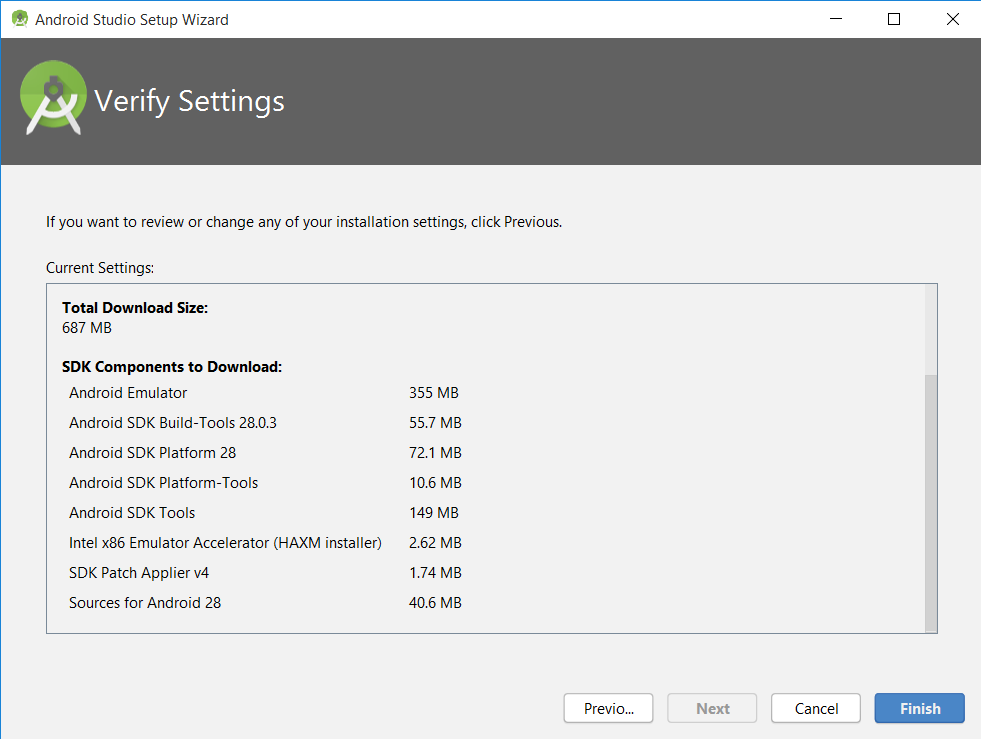
Step 7: When you see the screen to install Android Emulator, click Finish to start the installation process.
Step 8: Go and have a coffee, it’ll take 15-30 minutes (as per the internet speed) to complete the installation of Emulator and other SDK files.
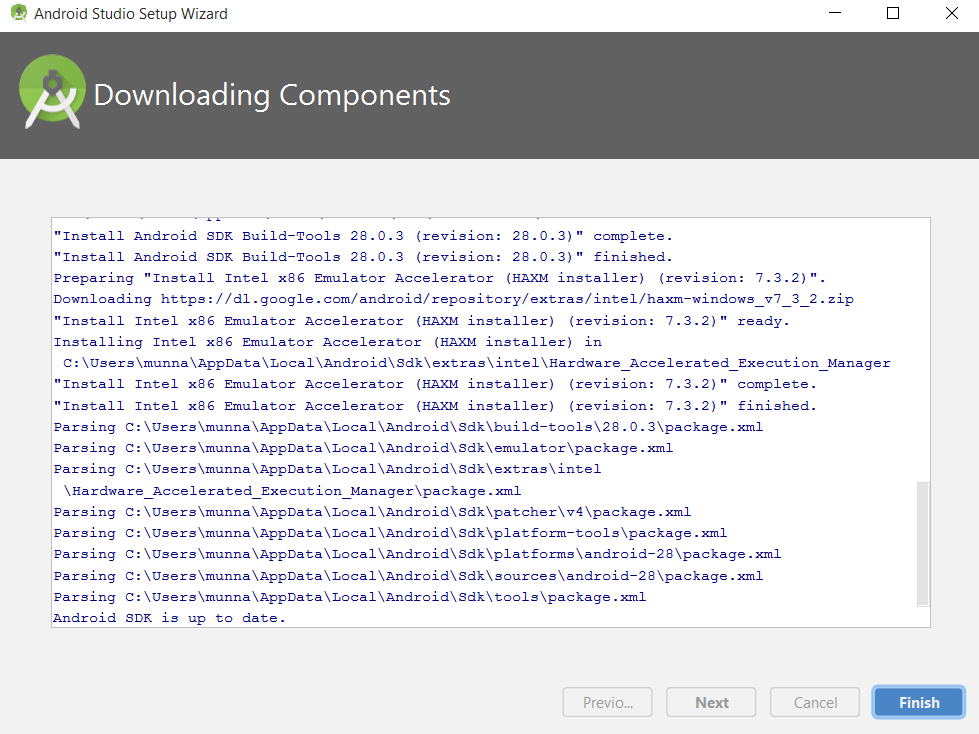
Step 9: When the installation is complete, you’ll get the screen like below with the message at the last line: Android SDK is up to date
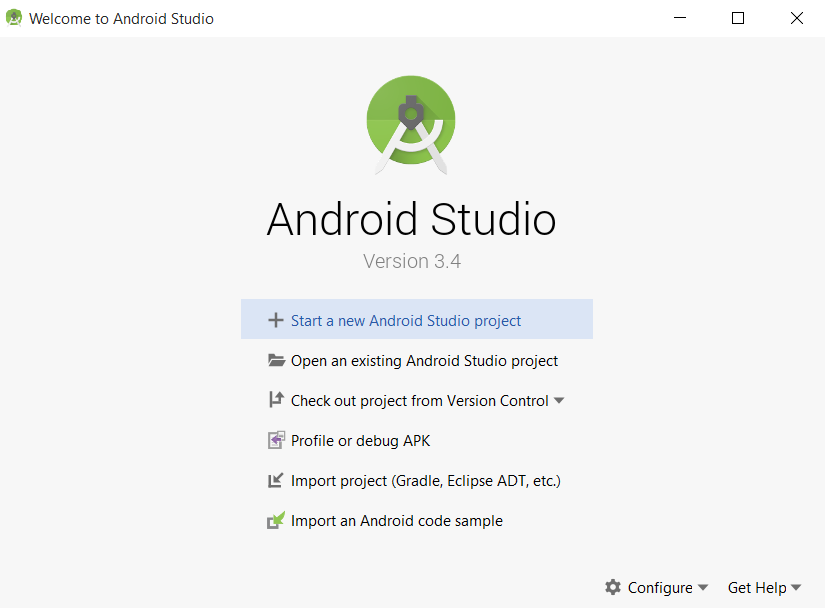
Step 10: Click Finish and you’ll get the welcome screen. Click Start a new Android Studio project to start developing your android app.